
You’ve spent time positioning your hair system, only to feel that familiar itch or a lifting edge by midday. While many focus on finding stronger glue, the real issue is often the skin itself. Long-time wearers understand that sweat, oil, and product buildup in scalp are the silent enemies of a secure bond.
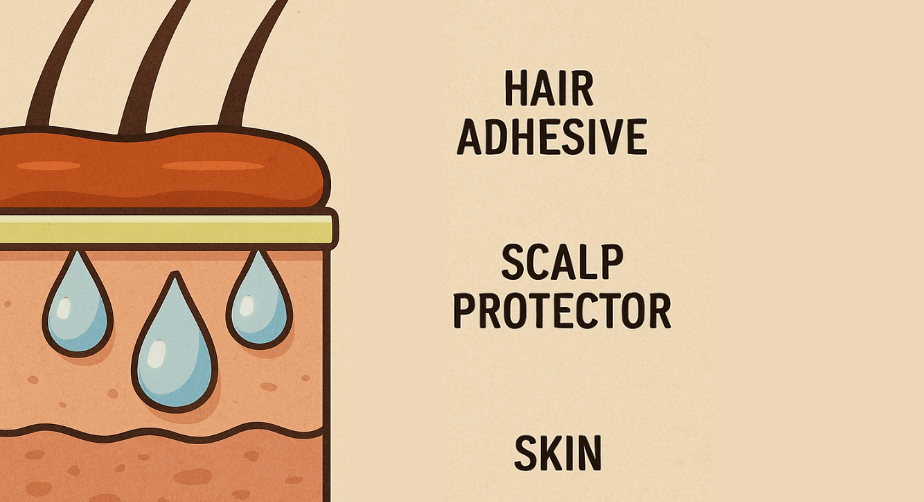
Think of a scalp protector for hair systems like a primer used before painting a wall. It creates an invisible barrier film that smooths the surface and blocks oils from attacking the hair system adhesive. By sitting between your head and the glue, the scalp protector helps reduce irritation and improves bonding performance.
Experienced stylists report that a scalp protector can extend wear time by two to three days. For people prone to irritation, choosing a sensitive scalp protector adds an extra layer of comfort while maintaining a strong hold.
The ‘Primer’ Secret: How an Invisible Barrier Transforms Your Hair System Experience
You wouldn’t paint a textured wall without applying a primer first, and attaching a hair system follows the same logic. A scalp protector acts as that crucial base coat, creating a thin shield over your scalp so adhesives bond evenly.
Instead of adhesive struggling against skin oils, the barrier prevents contamination from scalp buildup and dead skin cells. This smooth layer dramatically improves hold time.
Your body’s natural chemistry also affects bonding. Oils and sweat can mix with adhesive residue and create scalp buildup, weakening the attachment over time. Practicing regular scalp buildup removal prevents this problem and keeps the bonding surface clean.
People with delicate skin often prefer a sensitive scalp protector, which helps block irritation while keeping adhesives from penetrating sensitive pores.
This protective layer improves the bond in three ways:
- Prevents oil contamination that causes scalp buildup
- Supports effective scalp buildup removal before reattachment
- Protects delicate skin using a sensitive scalp protector
Is Your Scalp High-Risk? When a Protector Moves from Optional to Essential
Some wearers achieve long hold times easily, but others struggle with excess oil and scalp buildup. If your bond begins to lift early, your scalp chemistry may be interfering with adhesives.
In these situations, applying a scalp protector becomes essential. A sensitive scalp protector is especially helpful for individuals who experience itching or redness after adhesive use.
Lifestyle factors also influence bonding. Intense workouts, humidity, and heavy sweating accelerate oil production and increase scalp buildup. Regular scalp buildup removal keeps the surface clean and improves adhesive performance.
Understanding how to clean scalp areas properly is a critical part of long-term hair system maintenance.
Use a protector if you experience:
- frequent lifting caused by scalp buildup
- irritation requiring a sensitive scalp protector
- excessive oil requiring consistent scalp buildup removal
- difficulty maintaining hold despite learning how to clean scalp
The Step-by-Step Guide to Applying Scalp Protector for Maximum Grip
Even the best product fails if the scalp isn’t prepared properly. Before applying a scalp protector, proper scalp buildup removal must occur.
Start by wiping the bonding area with alcohol to remove oil and residue. This step is essential for anyone learning how to clean scalp areas before installing a hair system.
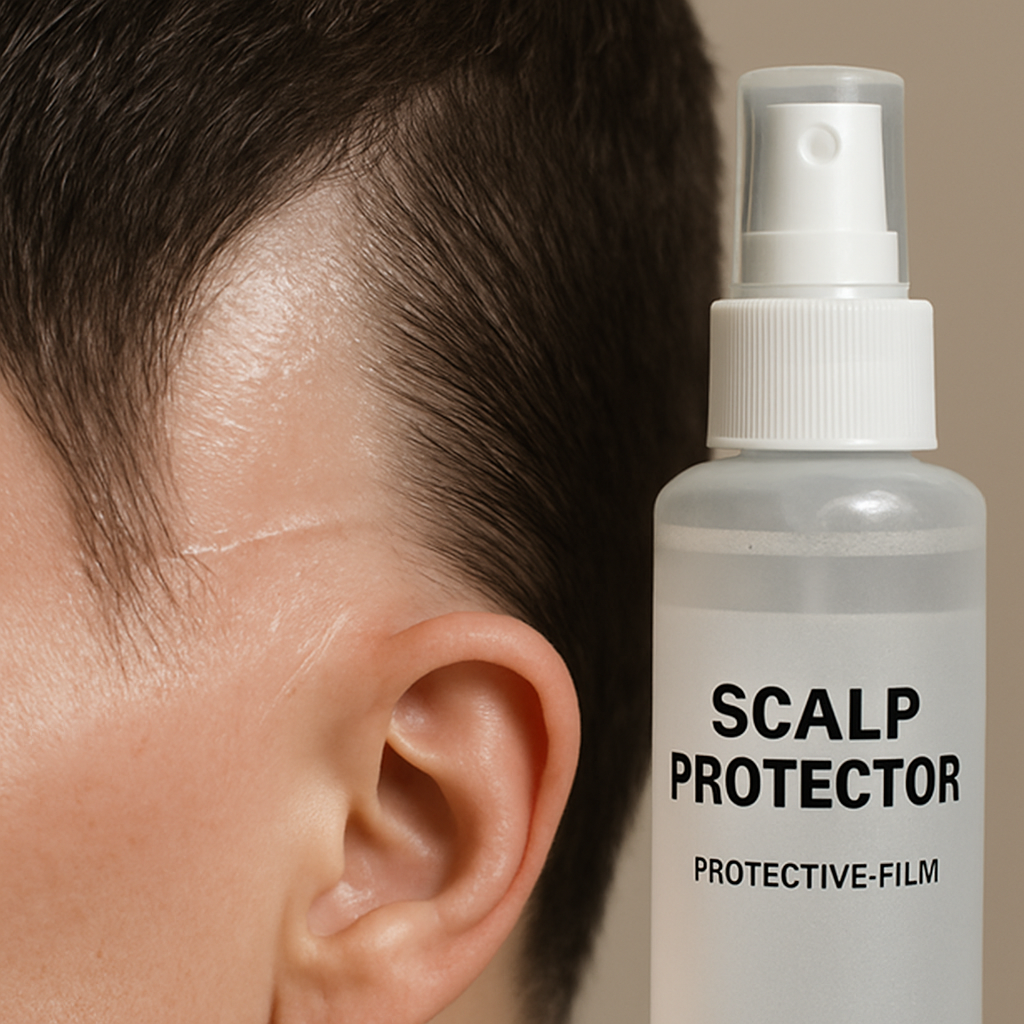
Once the scalp is clean, apply a thin layer of scalp protector along the bonding perimeter. If your skin is easily irritated, apply a sensitive scalp protector instead.
Follow this routine:
Deep Clean
Perform scalp buildup removal to eliminate oil and residue.
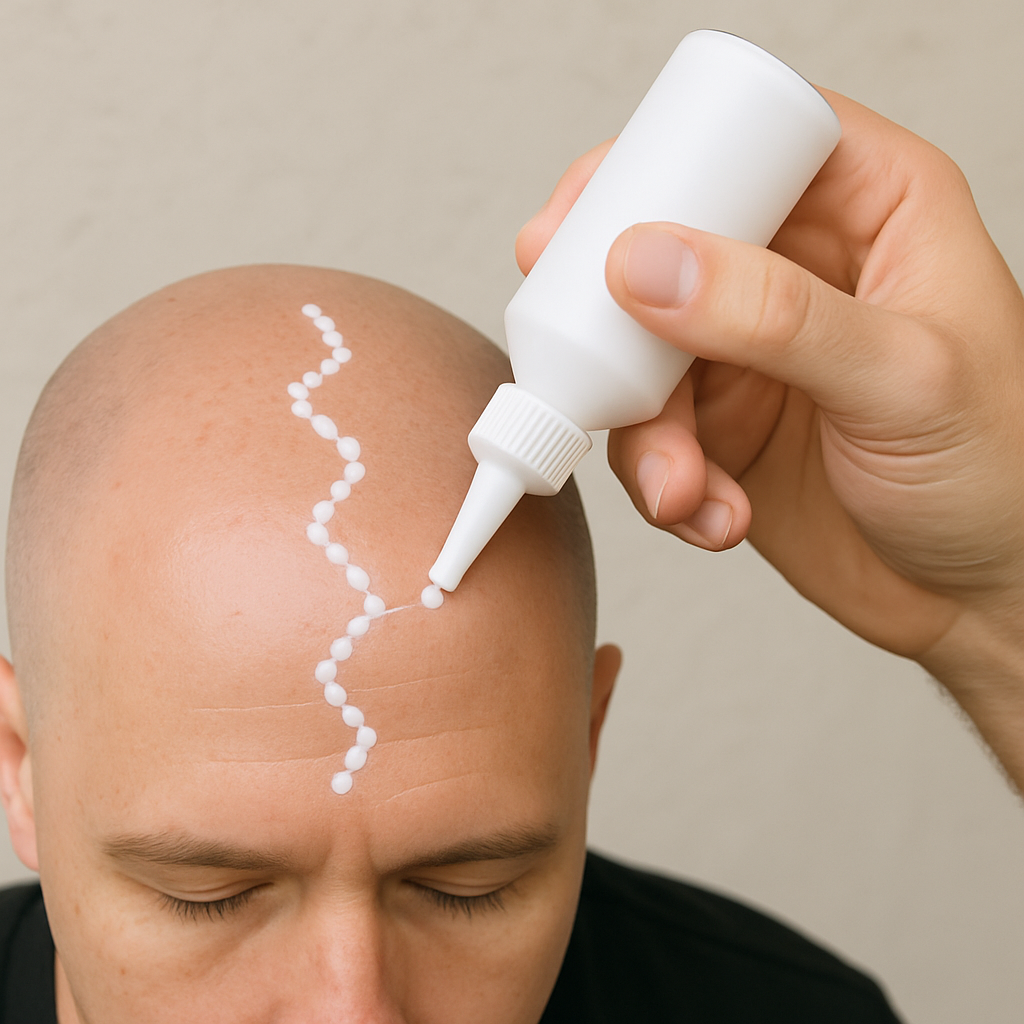
Apply Barrier
Spread a thin layer of scalp protector across the bonding area.
Dry Phase
Allow the product to dry before attaching the system.
Bond Installation
Attach the system after confirming the barrier layer is dry.
Practicing how to clean scalp properly before bonding significantly improves hold strength.
Choosing the Right Formula: Thick vs Thin and the ‘Sting-Free’ Choice
Different formulas work better depending on your bonding routine. Liquid adhesives often benefit from a thicker scalp protector that smooths the skin surface.
People with delicate skin should consider a sensitive scalp protector, which prevents irritation during long wear periods.
Another benefit of barrier products is their ability to reduce scalp buildup caused by sweat and oils. Combined with regular scalp buildup removal, they help maintain scalp health and adhesive performance.
Developing a routine that includes how to clean scalp techniques ensures that residue never interferes with bonding.
Your 3-Step Action Plan for a Healthier Scalp and Longer Wear
A comfortable hair system starts with proper scalp care. Using a scalp protector helps block oil, prevent irritation, and improve adhesive performance.
For sensitive skin, applying a sensitive scalp protector creates a protective barrier that keeps adhesives from irritating pores.
Maintaining a clean surface through scalp buildup removal also ensures your bond remains strong. Over time, this routine helps control scalp buildup and keeps the scalp healthy.
To maintain optimal results:
- Learn how to clean scalp areas before each installation
- Perform regular scalp buildup removal to prevent residue
- Apply a scalp protector before bonding your system
By following these steps, you reduce irritation, control scalp buildup, and maintain a secure hair system attachment.